Infra & Devops/Kubernetes
[K8s] Vagrant와 Kubespray를 이용한 쿠버네티스 환경 구성(1)
겸둥이xz
2021. 9. 27. 19:59
반응형

Vagrant란?
- 단인 워크 플로우로 가상 시스템 환경을 구축하고 관리하기 위한 프로비저닝 도구
- 프로비저닝 기능을 통하여 요구 사항에 맞는 가상 시스템 환경을 자동으로 구축 가능
- 시스템은 VirtualBox, VMware 등의 프로바이더 위에 프로비저닝
- IaC 도구를 사용하여 가상 시스템에 소프트웨어를 자동으로 설치, 구성 가능
- Vagrantfile에 작성된 내용을 바탕으로 가상 시스템이 자동으로 구축된다
- 명령어로 VM 상태 확인, 중지, 삭제, 생성 등이 가능하다

Vagrant 설치 & Virtualbox 설치
https://www.vagrantup.com/downloads
Downloads | Vagrant by HashiCorp
Vagrant enables users to create and configure lightweight, reproducible, and portable development environments.
www.vagrantup.com
brew로 설치 가능 - Vagrant

VirtualBox 설치
Oracle VM VirtualBox
Welcome to VirtualBox.org! News Flash Important May 17th, 2021We're hiring! Looking for a new challenge? We're hiring a VirtualBox senior developer in 3D area (Europe/Russia/India). New July 28th, 2021VirtualBox 6.1.26 released! Oracle today released a 6.1
www.virtualbox.org
Vagrant 기본 명령어
- vargrant init : Vagrantfile 기본 형태 생성
- vagrant box add : 이미지 다운로드
- vagrant plugin install : 추가 플러그인 설치
- vagrant up : Vagrantfile을 바탕으로 프로비저닝 진행
- vagrant halt : 관리하는 가상 머신을 종료
- vagrant destory : 관리하는 가상머신 삭제
- vagrant ssh : 가상 머신에 ssh 접속
Vagrant를 이용하여 VM 프로비저닝 실습
Ubuntu 18.04 이미지 가져오기 (vagrant box add ubuntu/bionic64)

이미지 목록 확인 (vagrant box list)

추가 패키지 hostmanager, disksize 설치하기

- vagrant-hostmanager : 게스트 시스템의 호스트 파일을 관리하는 플러그인
- vagrant-disksize : Virtual Box에서 디스크 사이즈를 조절하는 플러그인
Vagrantfile 생성 (vargarnt init)

Vagrantfile 수정 (vi Vagrantfile)
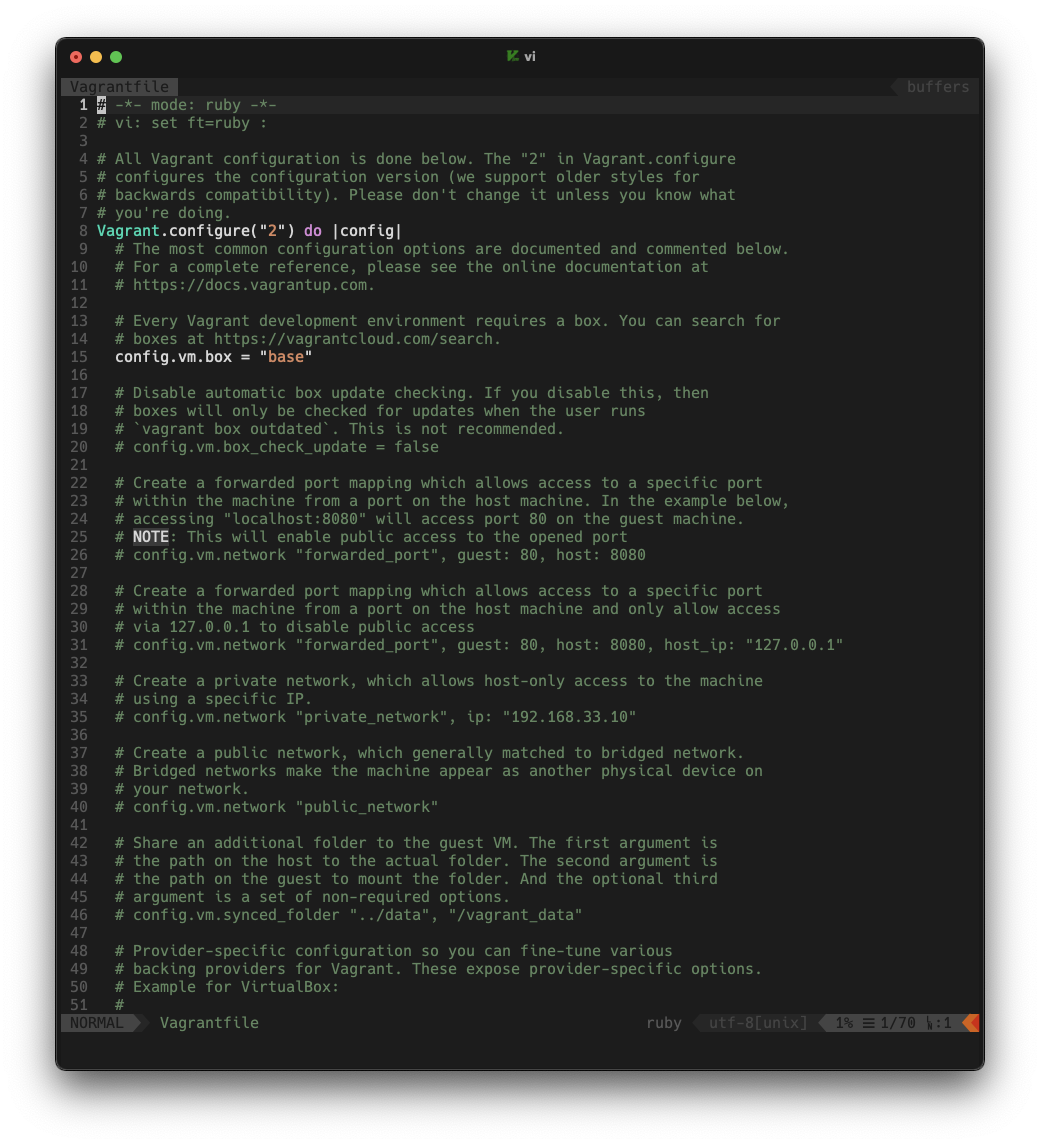
- 이런 식으로 주석 처리된 설명을 볼 수 있다
- 이제 내가 원하는 설정에 맞게 바꿔주자 Ruby 문법으로 작성한다
# -*- mode: ruby -*-
# vi: set ft=ruby :

Vagrant.configure("2") do |config|
  config.vm.define "control-plane" do |config|
    config.vm.box = "ubuntu/bionic64"
      config.vm.provider "virtualbox" do |vb|
        vb.name = "control-plane"
        vb.memory = "2048"
        vb.cpus = 2
      end
      config.vm.hostname = "control-plane.example.com"
      config.vm.network "private_network", ip: "192.168.56.11"
  end


  config.vm.define "node1" do |config|
    config.vm.box = "ubuntu/bionic64"
      config.vm.provider "virtualbox" do |vb|
        vb.name = "node1"
        vb.memory = "1536"
        vb.cpus = 1
      end
      config.vm.hostname = "node1.example.com"
      config.vm.network "private_network", ip: "192.168.56.21"
      config.disksize.size = "50GB"
  end


  config.vm.define "node2" do |config|
    config.vm.box = "ubuntu/bionic64"
      config.vm.provider "virtualbox" do |vb|
        vb.name = "node2"
        vb.memory = "1536"
        vb.cpus = 1
      end
      config.vm.hostname = "node2.example.com"
      config.vm.network "private_network", ip: "192.168.56.22"
      config.disksize.size = "50GB"
  end


  # 설치한 플러그인 활성화
  config.hostmanager.enabled = true
  config.hostmanager.manage_guest = true

  config.vm.provision "shell", inline: <<-SHELL
    sed -i 's/ChallengeResponseAuthentication no/ChallengeResponseAuthentication yes/g' /etc/ssh/sshd_config
    sed -i 's/archive.ubuntu.com/ftp.daum.net/g' /etc/apt/sources.list
    sed -i 's/security.ubuntu.com/ftp.daum.net/g' /etc/apt/sources.list
    systemctl restart ssh
  SHELL
end- control-plane, node1, node2 총 3개의 VM을 생성한다
- sed 명령어를 통해 sshd_config와 sources.list 파일을 수정하게 했다
프로비저닝 진행 (vagrant up)


- 자동으로 생성된 것을 확인할 수 있다
<참고자료>
반응형